How GIG uses HubSpot

A quick guide on getting started with HubSpot

How do you get access to GIG Institutes HubSpot Site?

Once you have qualified as a Legacy Coach...

Personally introduced 3 paid members
and have a team of at least 10 paid members

...you will be invited to join the GIG Institute HubSpot Site

Logging In

Go to https://www.hubspot.com/

The Log in button can be found on the top right of the screen.

Are you in the right place?

If you click the drop-down arrow next to the profile picture and the words GIG Institute (top right of your screen) you will see the GIG Institute account number.

It must read 3946359.

Where do you start?

On the top left of your screen is a Contacts menu item. Click the drop-down arrow and select Contacts.

What you see and how to make it meaningful

On the left of your screen select the "All saved filters" option.

Make a filter a favorite

In the standard filters, hover on the "My contacts" option and select the Options drop-down and choose "Add to favourites".

Now it's easy

You now have a "My contacts" option on the standard contacts screen.

Get another filter

Do the same with the "Has no Legacy Coach" filter under the Created by others column.

It's easy again

You now have a "Has No Legacy Coach" option on the standard contacts screen.

Tidy things up

With the "Has no Legacy Coach" filter selected, go to the action drop-down on the right of your screen and select "Edit columns".

Select the following columns

Make sure that the columns you select are -

  • Name
  • Recommended by
  • Contact owner
  • Email
  • Mobile phone number

Don't forget to Save your selection.

Find an Unassigned member introduced by you or in your team

Under the "Contact Owner" column select "Unassigned" next to the member, in your team, that you found.

NOTE - If you assign someone else's team member to yourself, we will have a serious discussion.

Assign your contact to yourself

Simply search for yourself in the drop-down list and select your name.

Work with a contact

Return to "My contacts" saved filter on the contacts list and select a contact, you wish to work with, by clicking on their name.

Understand the screen you are on

On the left of your screen you will see details of the contact you chose to work with.

There are also buttons available under your contact name that allow you to do many things in relation to that contact.

Things you can do

There are many ways of contacting and updating information on your selected contact.

These option are available in 2 places on the screen in front of you.

Note the items on the right of the screen

There are more sophisticated items you can choose on the right of the screen.

We will deal with them later.

Let's work with Notes

In the top-centre of your screen select the Notes menu.

You can make a note about the person you have selected. This note is only visible to you unless you type in an "@", in which case you can send a copy of this note to any legacy coach you select from the list that appears.

This is an excellent way to communicate and ask questions of other legacy coaches.

Send an email to your chosen contact

The email option allows you to send emails to your contact, provided you have linked your email account.

I highly recommend that you link your Gmail account because this is really easy.

Note that the signature element of your email is editable and also allows you to save a standard email signature.

Log phone calls

To ensure that your activity records are complete, it is a good idea to log any phone calls you have with the contact.

Do not Choose "Make a phone call" because this does not work well in South Africa.

Tasks remember for you

Recording a task for the contact you are working on allows you to get on with other things and the system will remind you, via email and on-screen notification, about the task.

Ensure you read all the adjustable options on the pop-up box.

Schedule a Meeting from your screen

On the left of the screen, under the contact name, is an icon that allows you to schedule a meeting.

This integrates automatically with your calendar, and is a really nice function to use.

Deals prompt you on the next step in your contact's GIG Journey

On the right of your screen is a section concerning "Deals".

Select the "Add Deal" button.

Create a Deal

Near the bottom of the pop-up box is a selectable option to "Create a deal". Please select this.

Add Deal Information

Ensure the following -

  1. The "Deal name" is the name of the contact you are working on.
  2. Select the appropriate "Pipeline" for the contact you are working on.
  3. Choose the correct "Deal stage" for the contact.

THEN - Scroll down on the screen. There is more stuff to fill in before you create the deal.

Associate the Deal

Select the contact you are working on and tick the box for "Add timeline activity...".

Then click the "Create" button.

View the Deal

Click on the deal on the right hand side of your screen.

The Specifics and Detail of the Deal

On the left of your screen you can see the details of the deal and can also, just under the contacts name, change the "Pipeline", the deal "Stage" and the expected "Close date".

On the top left of the screen is a "breadcrumb" that will take you to the "Deals" screen. Please select it.

Kanban View of all your Deals

If you are not on the Deals screen, then select the Sales menu item and choose Deals.

The easiest way to work with all your deals is to choose the "Board" view (see top-middle of your screen) and simply drag-and-drop the deal card into the next phase of the pipeline.

Changing Pipelines in the Kanban View

You can change the pipeline you are looking at/working on by selecting a different pipeline from the drop-down on the left of your screen.

We have set up 5 pipelines to work with. These are -

  1. Free member to Paid member
  2. Paid member Training
  3. Paid member Wealth Seeds
  4. Paid member to Legacy Coach
  5. Legacy Coach to Mentor

Remember - Always start by choosing a Contact

Return to your Contacts screen.

This screen is where you always start when you wish to work with a contact.

Select the contact you want to work with and then do the work.

Let Your Team book meetings with You

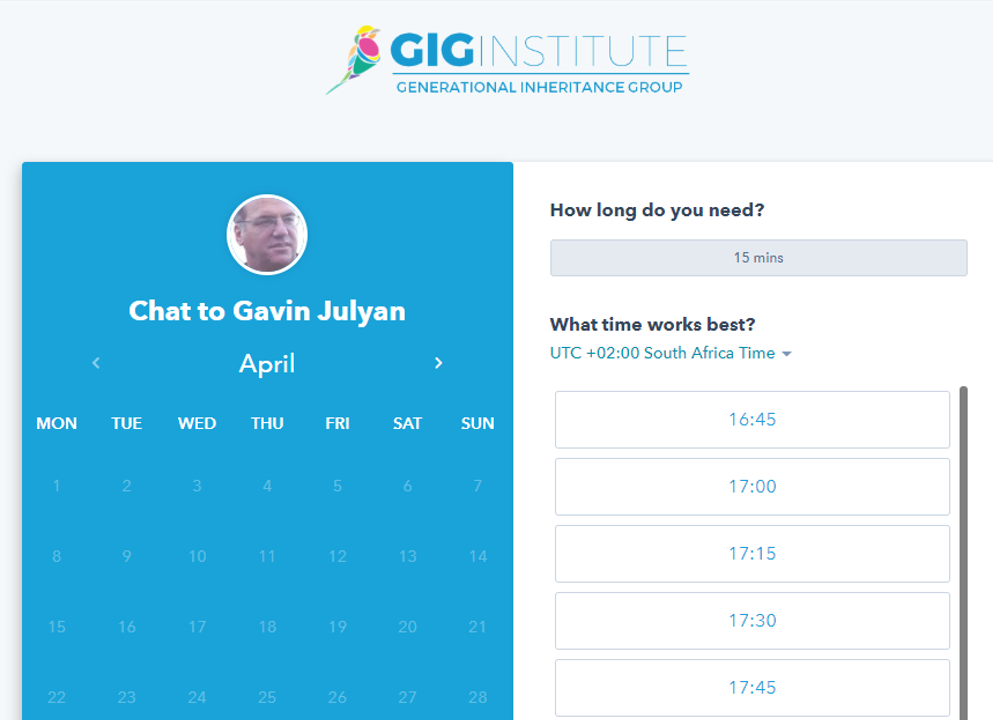
HubSpot has a useful tools that allows you to create a meetings booking screen, with its own web address, that automatically reads yor calendar and adds meetings to your calendar in available time slots.

I recommend you set this up for yourself.

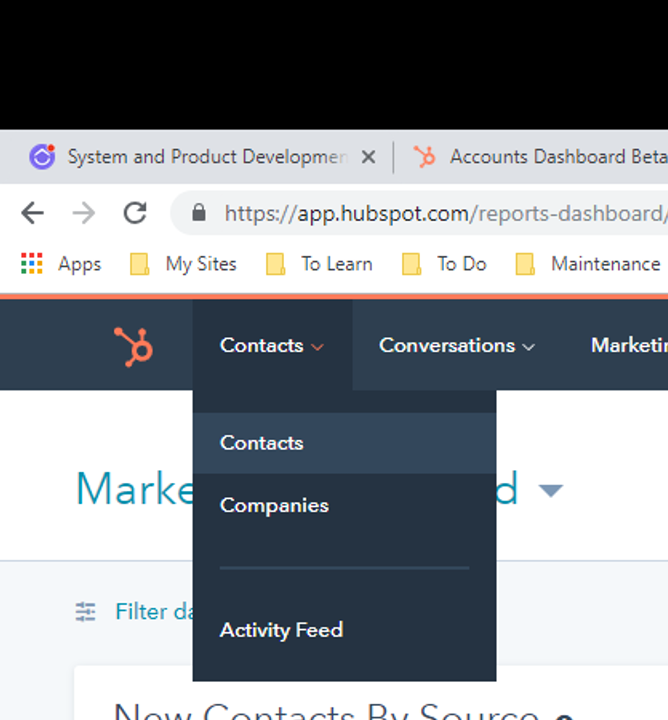
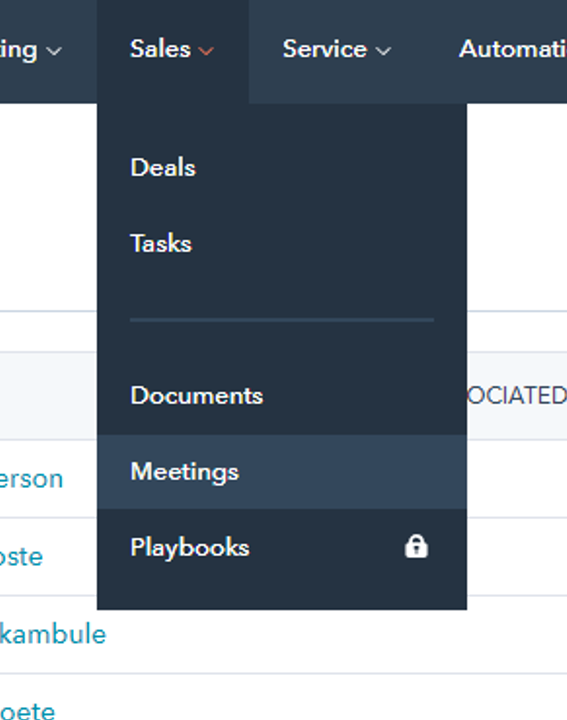
Go to the "Sales" menu and select "Meetings".

What your Meetings web page will look like

Complete the settings on the "Meetings" page and then share your page URL with your team.

Having a problem?

Scroll to top